09/09/2024 03:38:23 PM / GETTING STARTED
How to Replace the Power Button on an iPhone: A Step-by-Step Guide
At Mobile Repair Center, we specialize in providing fast, reliable, and professional iPhone repairs. One common issue iPhone users face is a malfunctioning power button, which can cause inconvenience and frustration. In this post, we’ll take you through the process of how we expertly replace the power button of an iPhone and restore your device to full functionality.
Why Does the iPhone Power Button Fail?
Over time, the power button (also known as the sleep/wake button) may stop working due to various reasons:
- Wear and tear: Constant use can cause internal components to degrade.
- Dust and debris: Dirt buildup inside the button mechanism can affect its functionality.
- Water damage: Exposure to moisture can lead to corrosion of internal parts.
- Physical damage: Dropping the phone may damage the button or internal connections.
Whatever the cause, our skilled technicians are trained to resolve these issues efficiently.
Tools We Use
At Mobile Repair Center, we use specialized tools for all iPhone repairs. Here’s what’s needed to replace an iPhone power button:
- Pentalobe screwdriver
- Phillips screwdriver
- Plastic opening tools
- Suction cup
- Tweezers
- Spudger
- Replacement power button assembly
Step-by-Step Guide to Replacing the Power Button
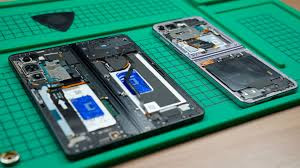
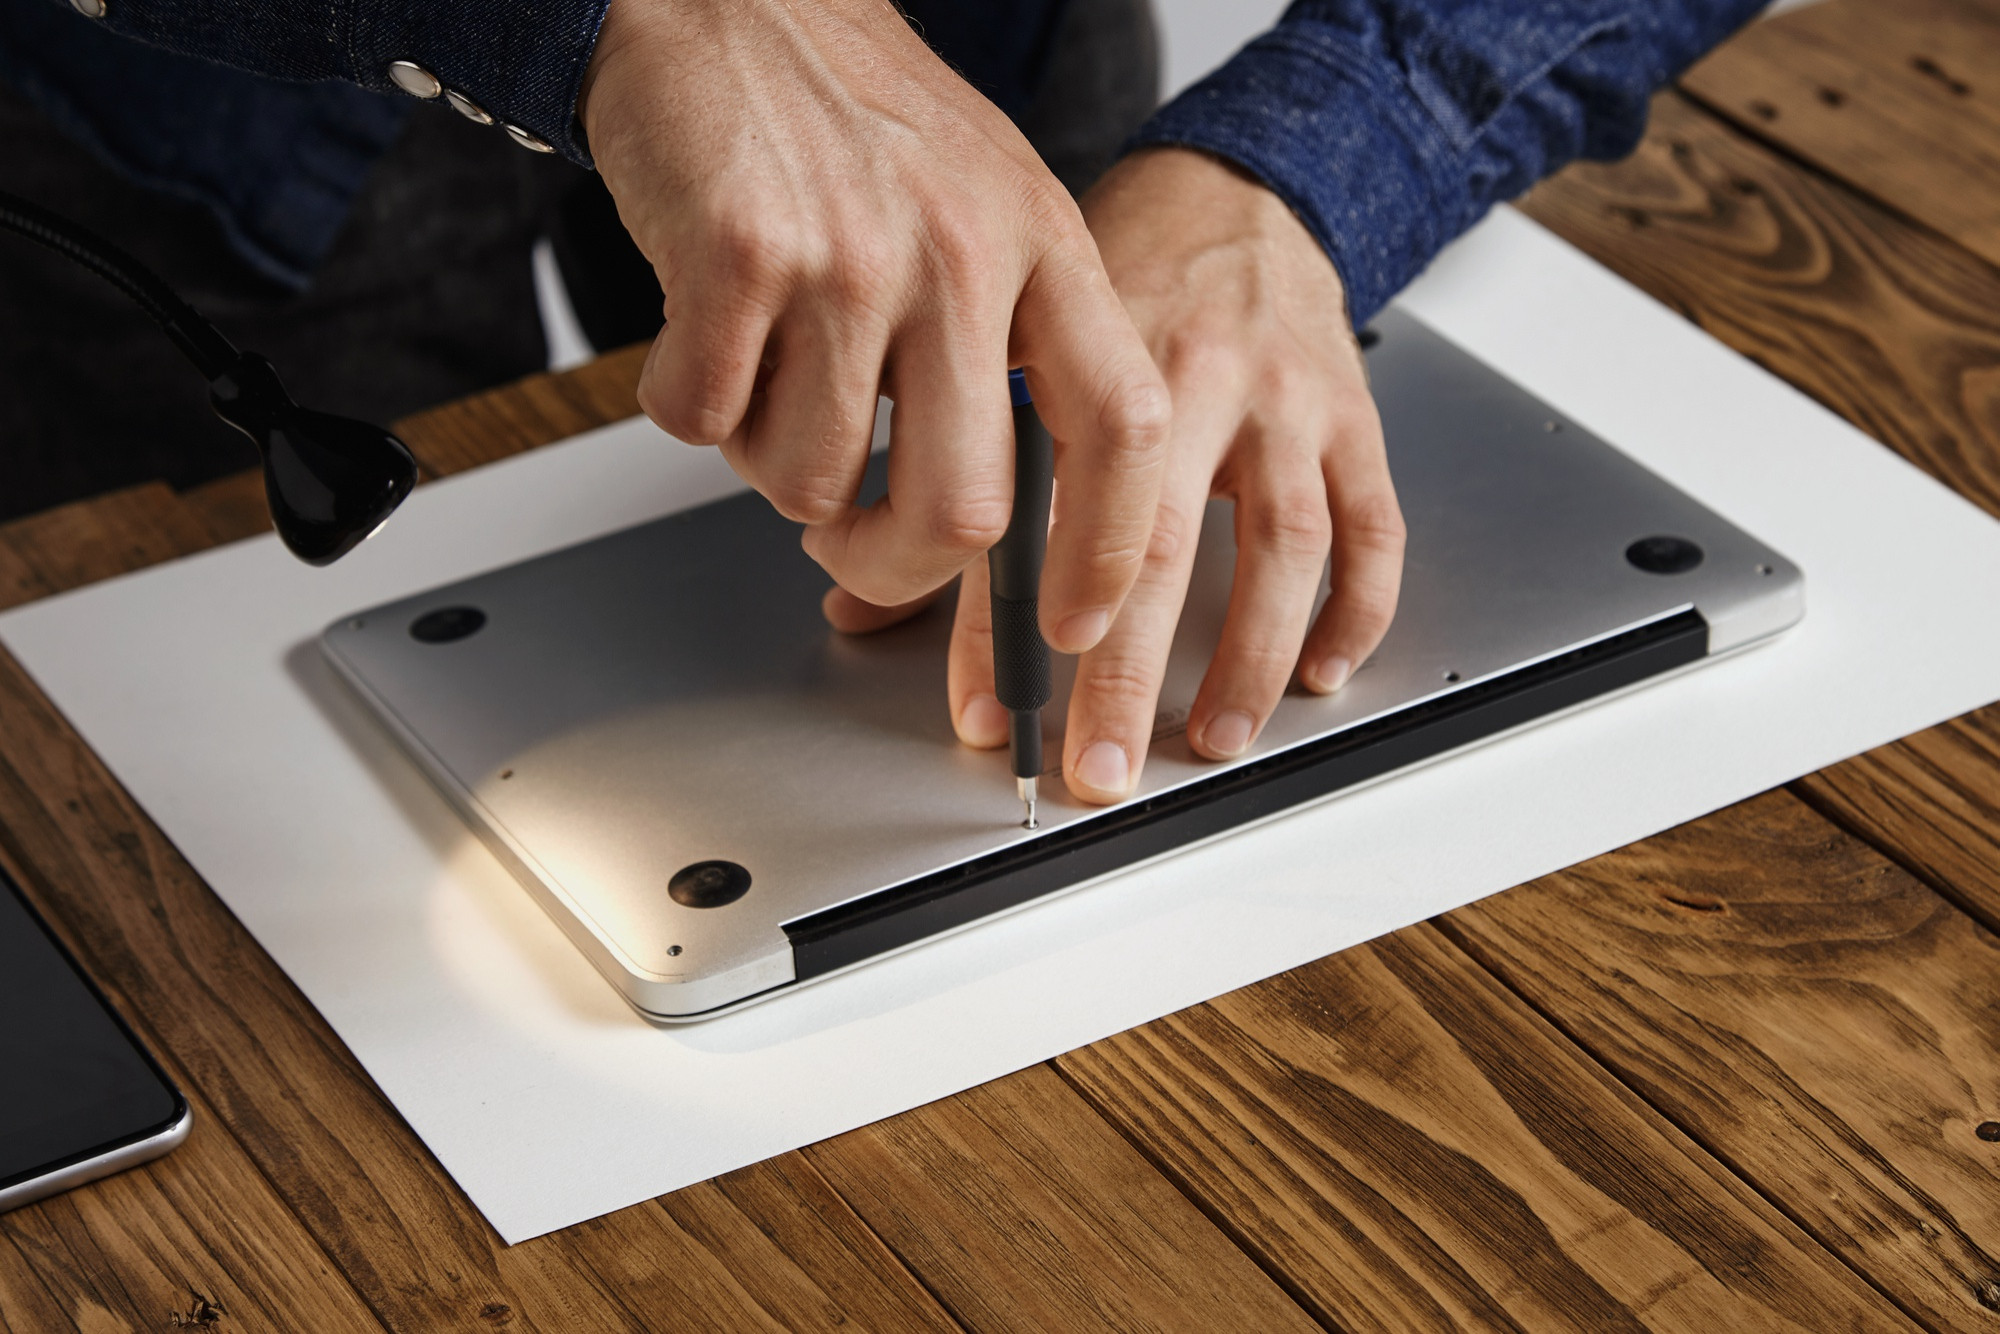
Step 1: Power Off and Disassemble the iPhone
First, we ensure the iPhone is powered off. This is crucial to avoid short circuits or further damage during the repair process. We remove the two screws near the charging port using a pentalobe screwdriver.
Using a suction cup, we carefully separate the screen from the back housing, starting at the bottom and working our way up, ensuring not to damage the display cables. We then disconnect the battery and screen cables using a spudger.
Step 2: Remove the Logic Board
To access the power button, we need to remove the logic board. We unscrew the screws securing the logic board, carefully disconnecting cables such as the camera, battery, and speaker connectors. This step requires precision, as improper handling can lead to other issues.
Step 3: Extract the Power Button Flex Cable
With the logic board removed, we gain access to the power button flex cable. We remove the screws holding the button assembly in place. Using tweezers, we carefully disconnect the power button flex cable from the housing. This is a delicate step as the flex cable is thin and fragile.
Step 4: Install the New Power Button
We install the new power button flex cable by securing it with screws and reconnecting it to the housing. This part of the process requires alignment to ensure the new button functions smoothly.
Step 5: Reassemble the iPhone
Once the new button is installed, we reassemble the phone by reversing the previous steps. The logic board is carefully repositioned and secured, all cables are reconnected, and the display is reattached.
Step 6: Test the New Power Button
Before sealing the iPhone, we test the new power button to ensure it functions properly. We turn the phone on and check for responsiveness, making sure it works just like new. Once confirmed, we close the phone, securing the display and screws.
Why Choose Mobile Repair Center?
Replacing the power button of an iPhone is a complex process that requires expertise, precision, and proper tools. At [Your Mobile Repair Center], our technicians are highly trained to handle even the most intricate iPhone repairs. We use high-quality replacement parts and ensure every repair is completed with care.
If you’re experiencing power button issues with your iPhone, don’t hesitate to contact us. We offer quick, affordable, and reliable repair services that get your device back in working order.
At Mobile Repair Center, we specialize in providing fast, reliable, and professional iPhone repairs. One common issue iPhone users face is a malfunctioning power button, which can cause inconvenience and frustration. In this post, we’ll take you through the process of how we expertly replace the power button of an iPhone and restore your device to full functionality.
Why Does the iPhone Power Button Fail?
Over time, the power button (also known as the sleep/wake button) may stop working due to various reasons:
- Wear and tear: Constant use can cause internal components to degrade.
- Dust and debris: Dirt buildup inside the button mechanism can affect its functionality.
- Water damage: Exposure to moisture can lead to corrosion of internal parts.
- Physical damage: Dropping the phone may damage the button or internal connections.
Whatever the cause, our skilled technicians are trained to resolve these issues efficiently.
Tools We Use
At Mobile Repair Center, we use specialized tools for all iPhone repairs. Here’s what’s needed to replace an iPhone power button:
- Pentalobe screwdriver
- Phillips screwdriver
- Plastic opening tools
- Suction cup
- Tweezers
- Spudger
- Replacement power button assembly
Step-by-Step Guide to Replacing the Power Button
Step 1: Power Off and Disassemble the iPhone
First, we ensure the iPhone is powered off. This is crucial to avoid short circuits or further damage during the repair process. We remove the two screws near the charging port using a pentalobe screwdriver.
Using a suction cup, we carefully separate the screen from the back housing, starting at the bottom and working our way up, ensuring not to damage the display cables. We then disconnect the battery and screen cables using a spudger.
Step 2: Remove the Logic Board
To access the power button, we need to remove the logic board. We unscrew the screws securing the logic board, carefully disconnecting cables such as the camera, battery, and speaker connectors. This step requires precision, as improper handling can lead to other issues.
Step 3: Extract the Power Button Flex Cable
With the logic board removed, we gain access to the power button flex cable. We remove the screws holding the button assembly in place. Using tweezers, we carefully disconnect the power button flex cable from the housing. This is a delicate step as the flex cable is thin and fragile.
Step 4: Install the New Power Button
We install the new power button flex cable by securing it with screws and reconnecting it to the housing. This part of the process requires alignment to ensure the new button functions smoothly.
Step 5: Reassemble the iPhone
Once the new button is installed, we reassemble the phone by reversing the previous steps. The logic board is carefully repositioned and secured, all cables are reconnected, and the display is reattached.
Step 6: Test the New Power Button
Before sealing the iPhone, we test the new power button to ensure it functions properly. We turn the phone on and check for responsiveness, making sure it works just like new. Once confirmed, we close the phone, securing the display and screws.
Why Choose Mobile Repair Center?
Replacing the power button of an iPhone is a complex process that requires expertise, precision, and proper tools. At [Your Mobile Repair Center], our technicians are highly trained to handle even the most intricate iPhone repairs. We use high-quality replacement parts and ensure every repair is completed with care.
If you’re experiencing power button issues with your iPhone, don’t hesitate to contact us. We offer quick, affordable, and reliable repair services that get your device back in working order.